
It has never been easier to create your own video game. Now hearing that might have immediately made you think of a good dozens of reasons why it doesn’t feel that way. But alas, even though you and I might want to argue against the point, it’s true.
With a decent enough computer and an internet connection, you can download one of the many game development tools that are available at no cost -to which I will link at the end of the post- and you can start working on your first video game within a couple of hours.
There are a lot of great Youtube intro tutorials out there. From basic intros to Unity, Unreal or Godot, to how to code camera movements and AI pathfinding. Don’t worry, this AI doesn’t chug water like your uncle chugs beer during family gatherings.
Seeing as there are a lot of great intro tutorials into the actual ‘how to’ of doing things inside the game engines, I instead want to give you the tools to help you focus your designing efforts and mental power properly so you don’t overwhelm yourself with burnout, overwhelmed with options before even placing your first cube inside of Unity.
This is the ‘How To Game Design’ that can be boring to talk about, but it is incredibly useful and boy will it save you a lot of time and unnecessary work. So, I’ll try to keep it light and to the point.
In case you want to jump ahead to a specific section, or you come back to read through a specific topic again, let me outline the topics I’ll be covering:
As you can tell, the visuals of your game come waaaaay later than you would think, but we’ll get to that.
THE IDEA
Every game project starts, of course, with an idea. This can be a very simple idea like “Super Mario but instead of mushrooms you lick toads!”. It doesn’t have to be a necessarily bright or good idea, it just needs to be fun for you.
This is a key aspect that I feel sometimes is forgotten by us indie devs. We can get al little worried and tangled into the “how am I gonna sell the game?” or “what would make a lot of people want to play my game?”. When in reality, games just need to be fun, and if you -the game developer- has fun with it, I can assure you there are other people out there that will also have fun with it.
So, whether you already have a clear idea of a game you want to make, or you’re looking for the right one, I encourage you to grab a piece of paper, a pencil, and just throw things to the wall. Yes, you can use your notes app, but I find that writing things down physically sometimes helps.
If nothing is immediately coming to you, think of the games you like and what specifically you like about those games. Like my example above, think of specific ‘things’ you do in the game. Saying ‘Call of Duty, but cats’ sounds fun, but what part of Call of duty will be cats? Will you shoot cats or use cats as guns? Will you be fighting cats or be a cat yourself? Try to start with the big picture, the actual things you do in the game, and finally -this will be your mantra through development, so remember it- keep it simple.
This is the most important advice I can give you. It is a mantra passed down from one indie dev to another: K.I.S.S. Keep It Simple, Stupid.
And no, I am not calling you stupid -unless you are doing something stupid, like creating art before even having a prototype- what it means is keep things simple and silly. Games can be serious and artsy, but that doesn’t mean they can’t also be silly and fun. So remember KISS going forward.
Did you write down a couple of ideas? Do some of them sound dumb as hell? Good. In order to get to the good ideas, you need to get the dumb ones our of your brain. But once you have a simple idea that sounds fun to you, something along the lines of ‘a metroidvania underwater’, we move on the next step. Prototyping.
THE PROTOTYPE
You will come to find out -or may already know- that game design is a highly iterative process. Like many forms of art and entertainment, the creative process is always changing and can be wildly different from project to project. But game design also has the peculiar quirk of being an extremely interactive process, and it always starts with a prototype.
From the first line of code you write, then hitting ‘play’ and seeing the results, you are constantly in conversation with your game. Seeing what works, what feels slow, what could be different and what if the enemies where bigger, or what if… you get the point. But it is important to try to contain those thoughts a little bit. Remember, keep it simple.
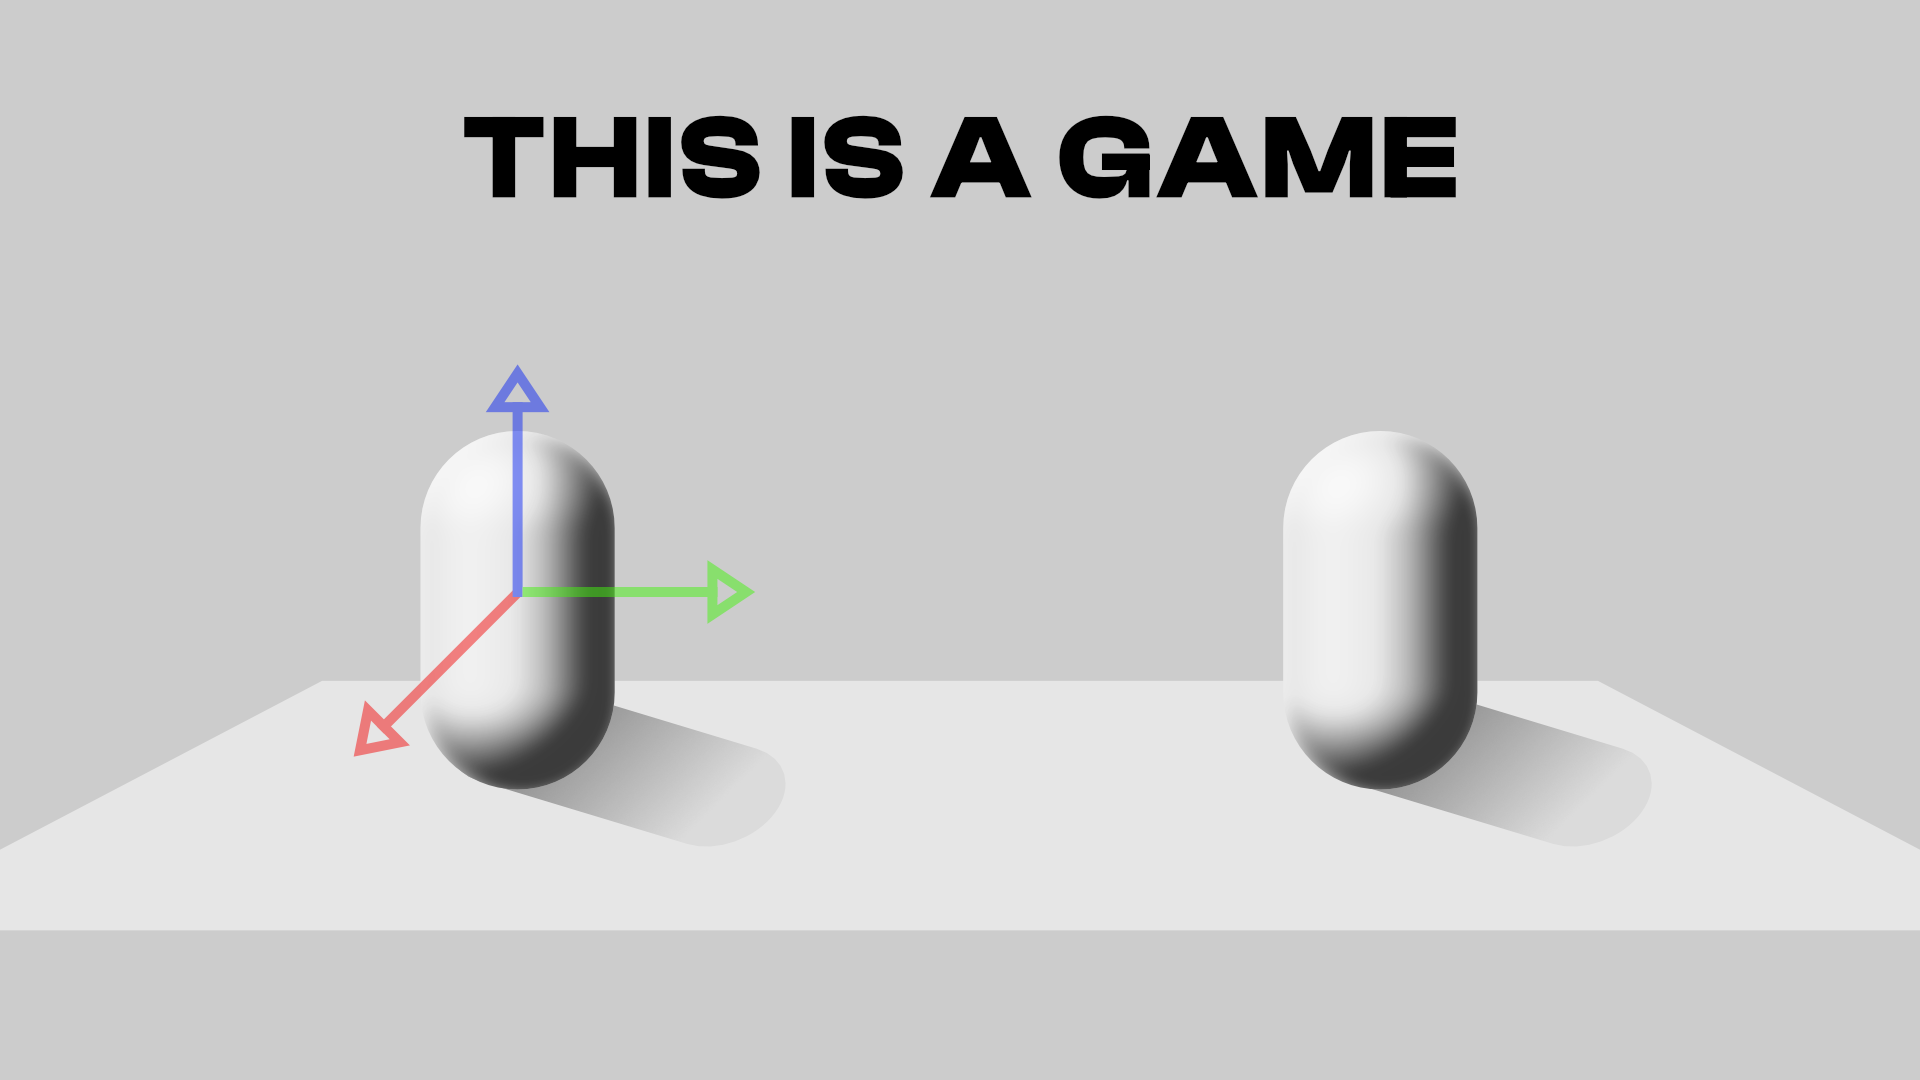
The age old art of ‘Grey Boxing’ is a key part of prototyping. At first it might seem goofy, but the moment you realize you can fully create your game just with grey boxes and blobs -and that it will still be fun- iterating and changing things about your game on the fly becomes easier.

Whether you are using Unity, Unreal Engine, Godot or any other game engine, chances are there are a lot of free pre-made assets that will speed it your prototyping process. From 3D models of generic items or human avatars, to 3rd person controllers with fully responsive camera movements, jumping, running, etc.
I’ll add some useful links at the end to some of these assets, but also don’t be scared to just work with grey blobs and creating your own code if you feel comfortable with programming. For the non-programming normies, don-t worry, there are plenty of easy ways to start without having to code, but do know one day you will have to get familiar with it.
Once you have opened your chosen game engine, poke around it for a bit. Explore community made assets, build some random things and just get comfortable moving around the software itself. Once you feel ready to start your prototype -maybe you found a good 2D character controller for your underwater metroidvania- it’s time to build.
For your first prototype try to focus on one action that players will be constantly doing in your game. If your player will be primarily moving by swimming underwater, try to make just the simple act of swimming fun. There is a famous interview with Shigeru Miyamoto talking about the process of making Super Mario 64, on it, he shares a key part of their prototype process:
There was a room made of simple lego-like blocks, and Mario and Luigi could run around in there, climb slopes, jump around, etc. We were trying to get the controls right with an analogue 3D stick, and once that felt smooth, we knew we were halfway there.
I’ll link the full interview at the end if you are interested on the process of making Super Mario 64. It’s a good read.
Miyamoto’s idea holds true for almost every single game out there. From the most complex to the ‘simplest’ ones. If the action you do the most in the game doesn’t feel good or is boring, then the game has a problem. And that could even be indirect purpose, a lot of the Wii era games are fun because the controls suck and nothing works properly while you flail your arms like a crazy person. But that’s a topic for another day.
When you’re creating the prototype for your game, focus on the basic actions of your game. If it’s swimming, swimming should be fun. If it’s attacking, attacking should feel good and punchy. Or maybe you want it to feel floaty and light. Whatever your intention is for said action, if it feels that way while moving a grey blob around, it will feel good with a finished art assets. But we are not there yet, so don’t think about the art yet!
Prototyping will be a lot of changing a 1 to a 1.5. Hitting play. Testing it. Going back to make that a 2. Hitting play. Testing it. Too slow. Making it a 20. Hitting play-hmmm that’s too much… you get the idea. But finding the sweet spot is truly subjective and only you can decide when it feels good.
A good starting point to know what feels right in the prototype is attaching an adjetive to each action. Taking our underwater game as an example, we could make a list of the actions and what adjective should describe each one. Say we have 3 main actions: Swim, Shoot Harpoon, Breath/Recover. We can attach an adjective to each to define what they should look like in our prototype and what things we can adjust to make them feel that way.
If we want to go a step further, we could even attach 2 adjectives to each action and give each a percentage. We can say that Swim should feel Fast, but it would be even better if we say Swim should be 30% Fast and 70% Flow. Yes, we want the character to move fast, but now we know that the most important aspect of the action itself is feeling like you can move effortlessly, change directions, move up and down and feeling like each movement flows into the next. So, if your character moves like Simon from the original Castlevania, now you know that it is not ‘flowing’ and you need to move the 1 back a 20.

Prototyping has so many more aspects we could discuss -like how to design puzzles or debug modes to change things on the fly- and maybe it deserves it’s own article, but for now we’ll leave it here and move on to the next step. The project scope.
THE SCOPE [SPOOKY THUNDER AND LIGHTING]
If you have ever worked on a game, read the news about cancelled games or maybe you had big ambitions for your science fair volcano, you are probably familiar with the concept of over-scoping.
As you have probably noticed by this point, the process of creating a video game is very prone to the ‘yeah, but wouldn’t it be could if…’ problem. You can start with a Minecraft but in space idea and all of a sudden you are creating a multi planetary survival, dead civilization exploration, death of the universe puzzle.
That’s why you can play golf in Grand Theft Auto, because somebody went down a ‘wouldn’t it be cool’ rabbit hole for 2 months and come out the other end with a pretty decent golfing simulator that exists inside of a crime simulator.

Aside from GTA, most projects would eventually drop those side ideas or pay the price. The price being they lost a year of development or just fully don’t get to finish the game. That is why creating a project scope that is attainable from the very begging is extremely important. And it is even more important to remember KISS while scoping your game.
Remember, creating a game is an iterative process, so you will get the chance to chase rabbits and come out the other end with a golfing simulator, but you need your development efforts to have a clear goal. Like with prototyping, we need adjectives and percentages that give us direction, but leave enough room for us to interpret what ‘Flow’ means as we go.
The most common practice for creating project scopes is a GDD (Game Design Document). These are usually used like a sort of bible for the rest of the project. They hold the absolute truth -sort of- for the games direction and objectively call out the games interactions. You will rarely find a GDD saying ‘Attacking should feel sick as hell’, it will probably read more like ‘Attacking should feel impactful and carry weight’. Boring, but way more clear for anyone that joins the project and needs to understand how to program the game.
I encourage you to search for the GDD of a game you like. Chances are the internet has gotten their grubby hands on the file, some game studios actually make them public, so try to learn from the developers you like. I will add a link to a GDD database in the resources at the end.
A key thing to remember when creating your GDD and scoping your game, is that you don’t need to figure out every little aspect of the game right then and there. Think of the GDD as the spine of a project. It is the base and the root of everything in the game. It is where you define the core tenants of what the players will do, how they will do it, how it should feel when they do it, and why they should be doing it.
What are the players motivations? Why should they swim? What are they trying to achieve? How many levels are there? Are there even levels or will it be one single big map? It’s good to do a general outline of what the complete game will look like. Try to actually go a bit smaller than your first instinct to leave enough space for the project to grow as you inevitably come up with new ideas while working on the game.
Some things will be added over time, others will be taken out and others might change in focus. Take our underwater game idea as an example, you might discover that perhaps it is not very fun to have your character constantly have to recover their breath. Or maybe you’ll realize that having to constantly think about your breath and looking for spots to recover brings a tension to the game that lends itself well for a making it more horror themed.
Don’t be scared to pivot or test things out, your scope should be something that keeps you focused, not something that limits your creativity. But -and I truly can’t stress this enough- keep it simple. It is very easy to come up with ideas and things to add to the GDD, but the more focused and simple your core idea is, the more fun it can be to actually play the game. If it wasn’t fun to just move and jump around with Mario in a room full of boxes, it wouldn’t be fun to run and jump around fireballs or goombas.
TESTING
Yes. Testing comes before the visuals for your game. No, we are not making art for it yet.
Fine… you can make the sprite for you main character and maybe the UI. But that’s it! No more creating art assets for now, you have some testing to do.
After a couple weeks or perhaps months of working on your game prototype, you might want to actually start building some of the levels that will be in the final game. Once you have one of those areas finished you might want to start polishing certain things, adding details, interactions, etc. I would suggest finding someone that is NOT working on the game and getting their opinion.
I know, it’s scary to let someone else look at your grey blob of a project. You haven’t gotten to the art part yet and what if… what if your baby is ugly? I know, I know. You see, the thing is… your baby is ugly. But that doesn’t matter as long as it is fun.
When you come up to your partner, friend or loved one and say “hey, would you be interested in checking out this game I’m working on and tell me what you think?”, they won’t be expecting an artistic masterpiece. Truth is, they probably won’t have any expectations at all. So, before showing them your game, just let them know that your baby might be a little ugly, but it’s fine, it will grow into it.
We developers are scared to show or ugly prototypes to friends and loved ones, but the truth is that they are the best people to show it to. Because if the game is not fun, they will -hopefully- tell you. And if it is fun, I can assure that after a few minutes of them playing and getting the hang of the controls, you will know that your game is fun.
You might have to go back and tinker a bit to fix things here and there, but before that… congratulations, you made a game.
Remember that games are made so you can have fun playing them. Yes, games CAN be art and full of meaning and tell a deeper story, if that is your intent then your metrics might be a little different. But if you just want to make a game, if the person playing it is having fun, even if it’s just swimming around in your grey test are, you are halfway there my friend.
Okay fine, we can create some art now.
THE VISUALS
Defining the visuals for your video game can be tough. Or it can be so annoyingly easy that you get sucked up into creating sprites, environment art, concept art, characters and things that you don’t even know yet how you’re going to put into the game, but god damnit they will be in the game!
If over-scoping is the number one reason for games not being finished -actually the number one reason might never starting- then a very close number two is what I like to call: art paralysis. And like many mental afflictions, I have noticed this one is particularly strong with people who see themselves as artists first and developers second.
Guilty as charged.
So for all my fellow devs out there that ‘have such a clear idea of what the game should look like!’, that is awesome, but let’s try to make some grey blobs move before investing time on any art. This will be better for your mental health and for the health of your project.
It is great to have a clear visual aesthetic in mind for the game, and it can inform a lot of your actual game design choices such as mechanics, puzzles or enemies, but it can be a dangerous wild sheep chase. Create concept art, mood boards and inspiration boards, but try to invest as little time creating art and assets for your game before having a prototype. While having a clear visual is great for a starting point, your prototype and game design should inform what art you create, not the other way around.
Once you have a playable prototype, no matter how simple, you will have a clearer idea of the art you actually need for your game. Collectibles, characters, menus, etc. You will have a better idea of what the game needs in terms of art and visuals when you actually have a game to play.
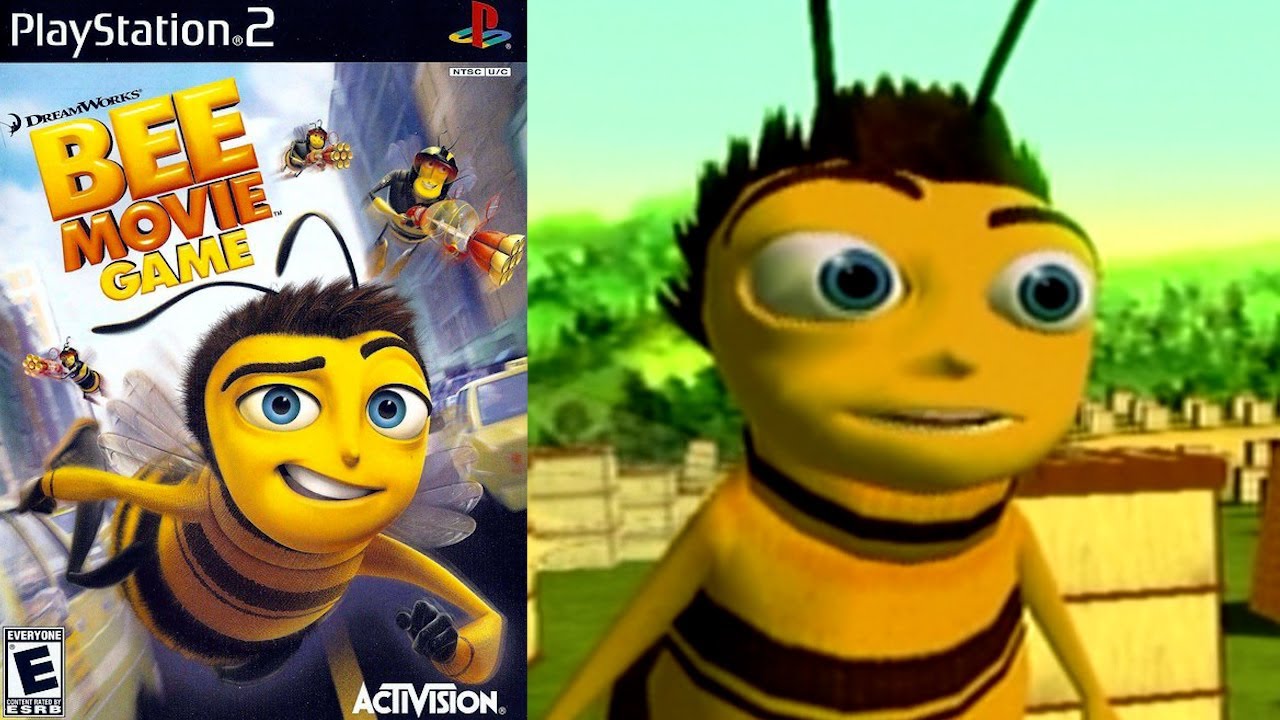
It has happened many times to me that I started a game project by creating a ton of concept art, assets and sprites before I even opened Unity. By the time I actually opened Unity and started blocking out a section, I already felt burnt out on the project because I’ve spent the last 2 months creating art that I didn’t even need. I understand not wanting to prototype with grey boxes or that the visuals of your game are important to the game itself, but if that is the case, there are some work arounds.
As I mentioned at the beginning, there are a boat load of game assets available on the internet. Some are free, some are paid, but all of them are meant to help you get your game going. If you don’t wan to start prototyping your game with grey cylinders and boxes, there are a lot of free 3D and 2D assets out there to make your prototype baby prettier. And even when it comes to these assets, remember that it is not how your final game will look like -unless you want it to of course- and you will eventually get to create the visual and aesthetics you want. Whether it is creating the art yourself, buying assets or hiring someone else to do the art, the visuals will come when the game informs what it needs.
Trust the process. And if you skipped from the beginning to this section: go put some grey blobs together in Unity and make them run and jump!
GOOD LUCK
Oh boy, that ended up being a bit longer than I first intended, and I didn’t even touch up on some aspects like monetizing your game, or the pros and cons between game engines. I hope some of this is useful and helps you get started on your game dev journey all the same.
There is a lot more I could have gone into -specially when it comes to prototyping- but I guess we can leave those for another day. I don’t want to bombard you with a brick wall of information. But do let me know in the comments if you have a specific question or just generally if this was helpful.
My intention with reviving this blog and writing more is to help inspire other indie devs with the knowledge and experiences I’ve had. Hopefully this did a little bit of that. Even if it just gave you the itch to poke around Unity or Unreal Engine. There are a lot of tools and tips out there to create a game without even having to create art or code, so before you get overwhelmed by possibilities, start making some prototypes. They don’t have to become anything, they can just be for you to have fun and try things. Some of the best game designers I’ve met are the ones that are able to put together prototypes like a kid with a box of Legos putting together “space ships”.
And before getting into the links I promised, I just have one more thing to say: good luck and have fun.
Oh! And KISS. Don’t forget KISS.
RESOURCES
Unity free 3D assets/controllers
Game Design Documents database
Interview with Shigeru Miyamoto on the development of Super Mario 64




Leave a Reply